M05-Unit 6 Create a Front Door for a highly available web application using the Azure portal
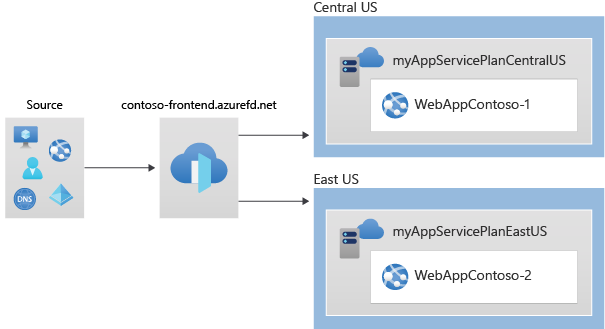
In this exercise, you will set up an Azure Front Door configuration that pools two instances of a web application that runs in different Azure regions. This configuration directs traffic to the nearest site that runs the application. Azure Front Door continuously monitors the web application. You will demonstrate automatic failover to the next available site when the nearest site is unavailable. The network configuration is shown in the following diagram:
In this exercise, you will:
- Task 1: Create two instances of a web app
- Task 2: Create a Front Door for your application
- Task 3: View Azure Front Door in action
- Task 4: Clean up resources
Task 1: Create two instances of a web app
This exercise requires two instances of a web application that run in different Azure regions. Both the web application instances run in Active/Active mode, so either one can take traffic. This configuration differs from an Active/Stand-By configuration, where one acts as a failover.
-
Sign in to the Azure portal at https://portal.azure.com.
-
On the Azure home page, using the global search type WebApp and select App Services under services.
-
Click + Create to create a Web App.
-
On the Create Web App page, on the Basics tab, enter or select the following information.
Setting Value Subscription Select your subscription. Resource group Select the resource group ContosoResourceGroup Name Enter a unique Name for your web app. This example uses WebAppContoso-1. Publish Select Code. Runtime stack Select .NET Core 3.1 (LTS). Operating System Select Windows. Region Select Central US. Windows Plan Select Create new and enter myAppServicePlanCentralUS in the text box. SKU and size Select Standard S1 100 total ACU, 1.75 GB memory. -
Select Review + create, review the Summary, and then select Create.
It might take several minutes for the deployment to complete. -
Create a second web app. On the Azure Portal home page, search WebApp.
-
Click + Create to create a Web App.
-
On the Create Web App page, on the Basics tab, enter or select the following information.
Setting Value Subscription Select your subscription. Resource group Select the resource group ContosoResourceGroup Name Enter a unique Name for your web app. This example uses WebAppContoso-2. Publish Select Code. Runtime stack Select .NET Core 3.1 (LTS). Operating System Select Windows. Region Select East US. Windows Plan Select Create new and enter myAppServicePlanEastUS in the text box. SKU and size Select Standard S1 100 total ACU, 1.75 GB memory. -
Select Review + create, review the Summary, and then select Create.
It might take several minutes for the deployment to complete.
Task 2: Create a Front Door for your application
Configure Azure Front Door to direct user traffic based on lowest latency between the two web apps servers. To begin, add a frontend host for Azure Front Door.
-
On any Azure Portal page, in Search resources, services and docs (G+/), enter front door, and then select Front Doors from the results.

-
On the Front Doors page, select + Create.
-
In Create a Front Door, enter or select the following information.
Setting Value Subscription Select your subscription. Resource group Select ContosoResourceGroup Resource group location Accept default setting -
Select Next: Configuration.
-
On the Configuration tab, in Frontends/domains, select + to add a frontend host.

-
Enter a globally unique host name, like contoso-frontend, and then select Add.
-
Next, create a backend pool that contains your two web apps.
In Create a Front Door, in Backend pools, select + to add a backend pool.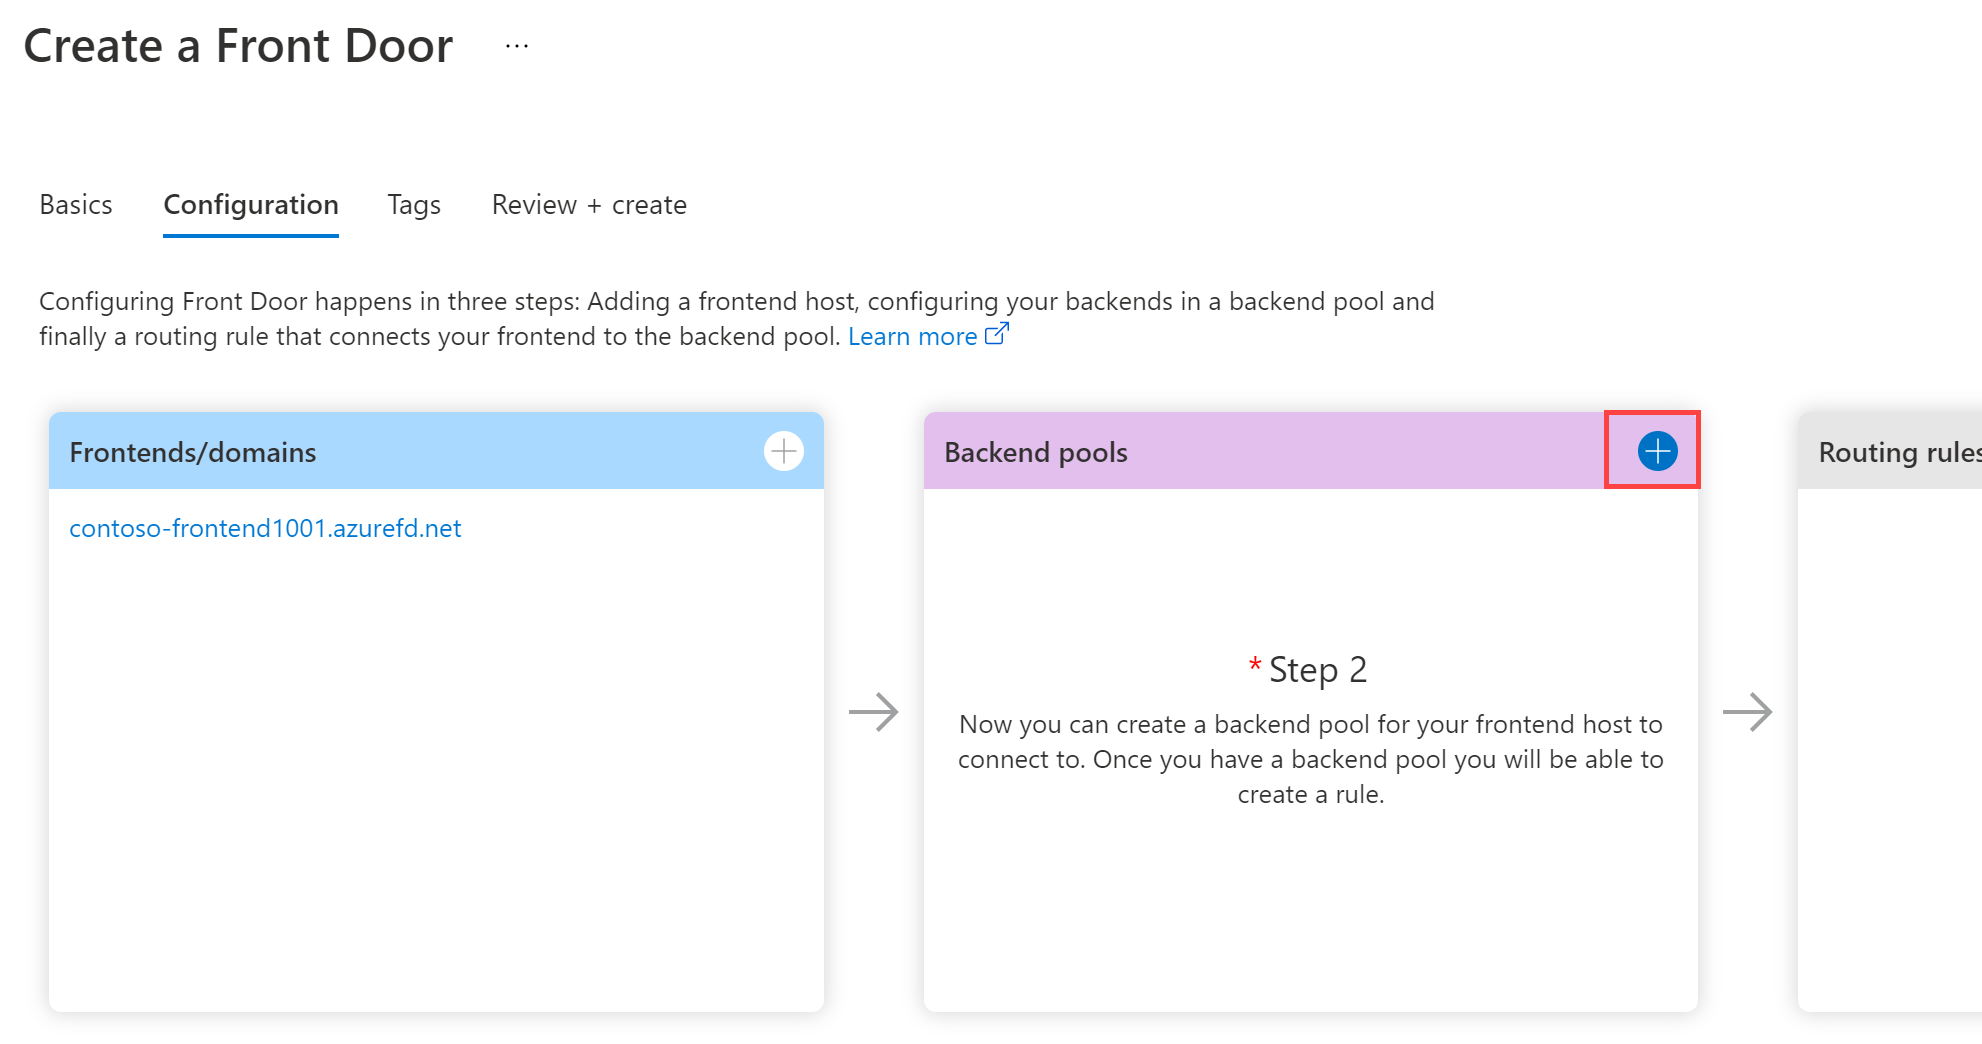
-
Enter a host name, like BackendPool.
-
Under BACKENDS, select + Add a backend.
-
In Add a backend, enter, or select the following information.
Setting Value Backend host type Select App service. Subscription Select your subscription. Backend host name Select the first web app you created. In this example, the web app was WebAppContoso-1. -
Leave all other fields as default and then select Add.
-
Select + Add a backend again, enter or select the following.
Setting Value Backend host type Select App service. Subscription Select your subscription. Backend host name Select the second web app you created. In this example, the web app was WebAppContoso-2. -
Leave all other fields as default and then select Add.
-
On the Add a backend pool blade, select Add to complete the configuration of the backend pool.
-
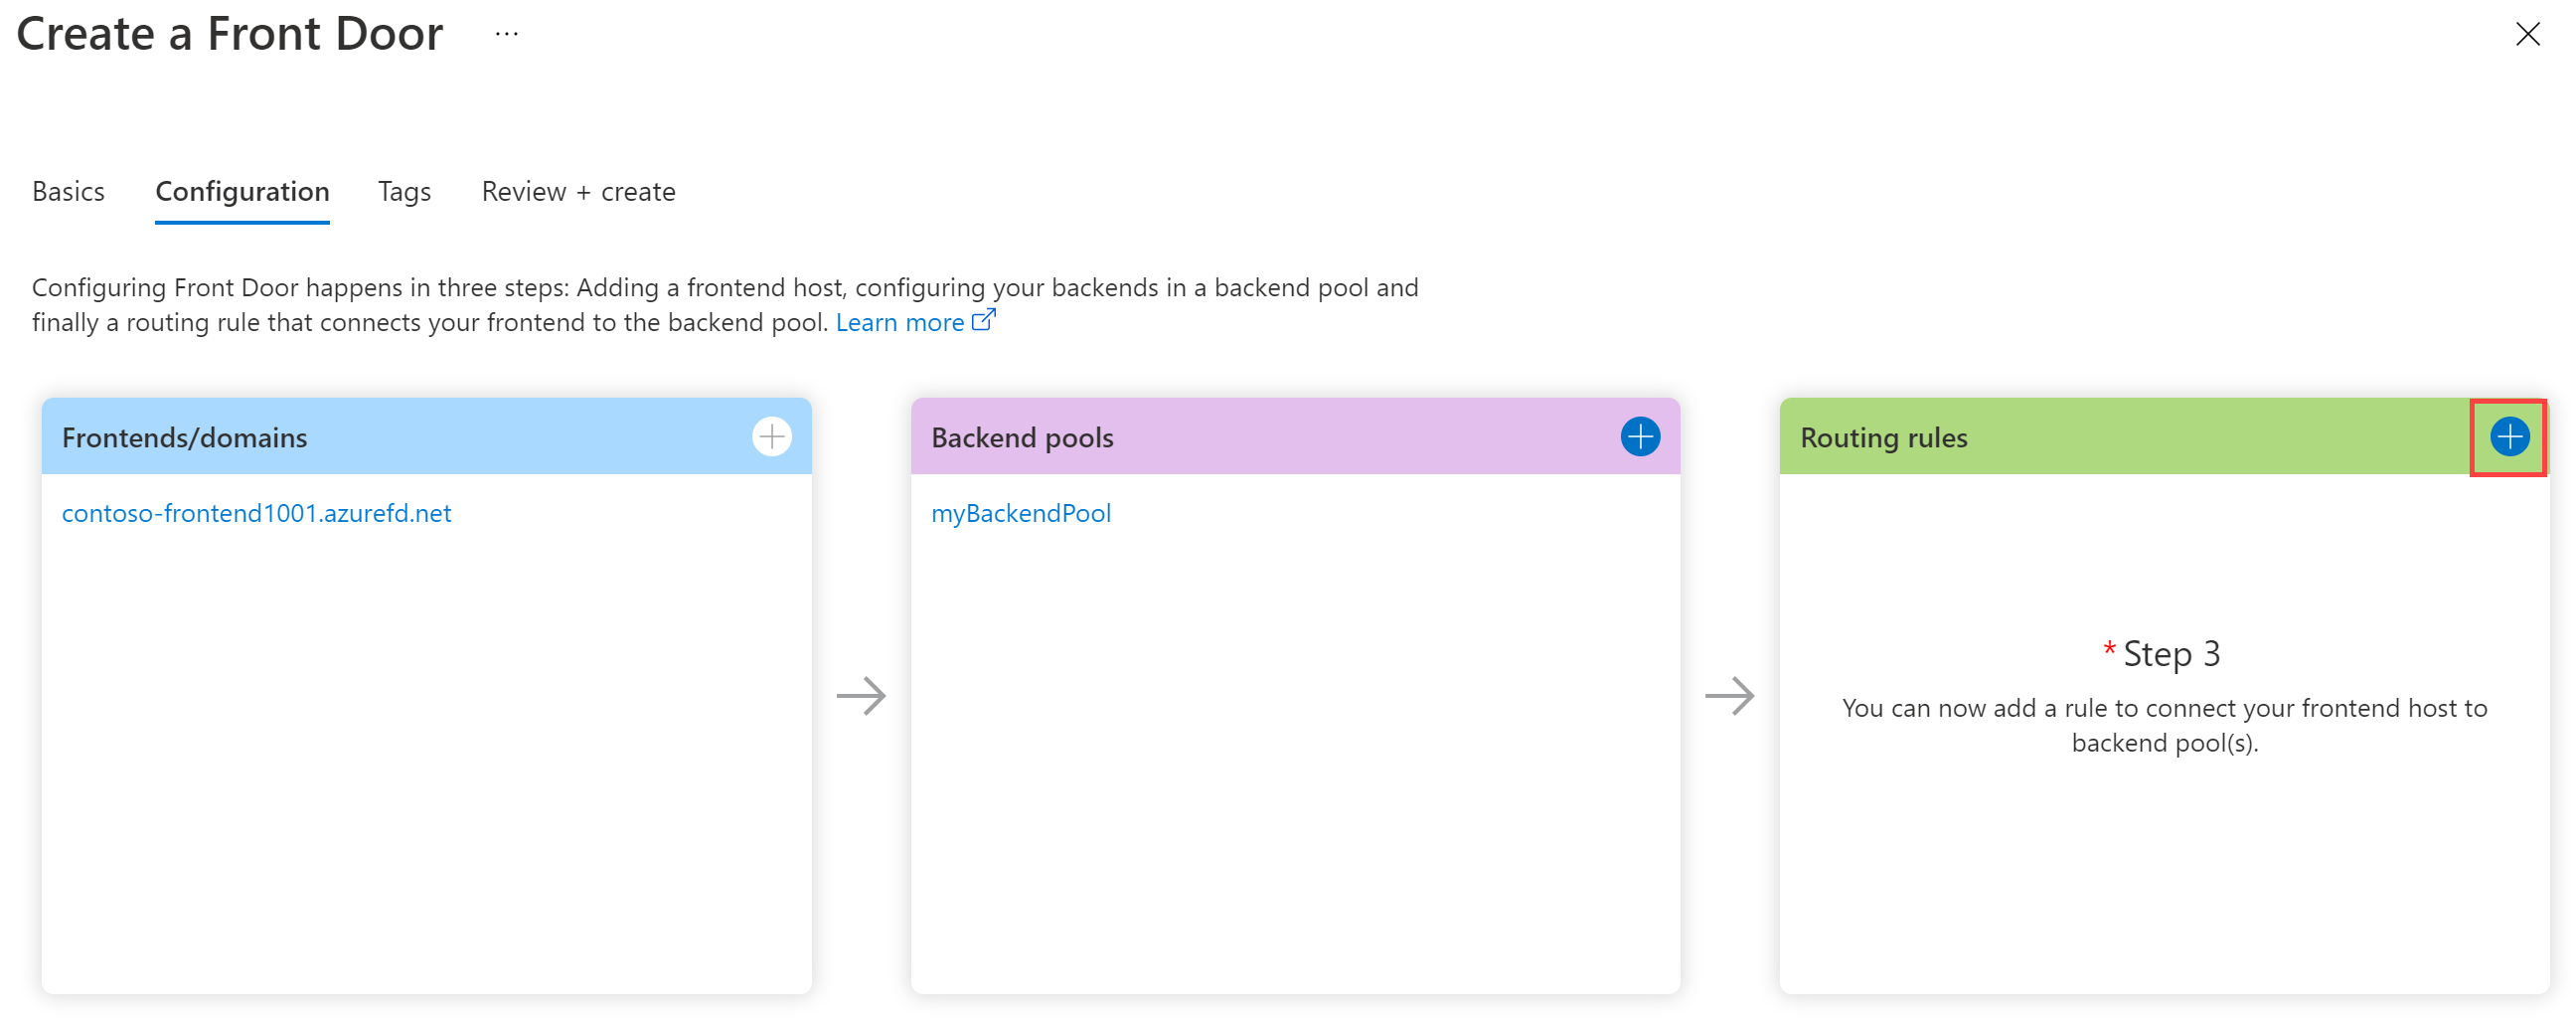
Finally, add a routing rule. A routing rule maps your frontend host to the backend pool. This rule forwards a request for contoso-frontend.azurefd.net to myBackendPool.
-
In Create a Front Door, in Routing rules, select + to configure a routing rule.
-
In Add a rule, for Name, enter LocationRule.
-
Accept all the default values, then select Add to add the routing rule.
-
Select Review + Create, and then Create.
You must ensure that each of the frontend hosts in your Front Door has a routing rule with a default path (*) associated with it. That is, across all your routing rules there must be at least one routing rule for each of your frontend hosts defined at the default path (*). Failing to do so may result in your end-user traffic not getting routed correctly.
Task 3: View Azure Front Door in action
Once you create a Front Door, it takes a few minutes for the configuration to be deployed globally. Once complete, access the frontend host you created.
-
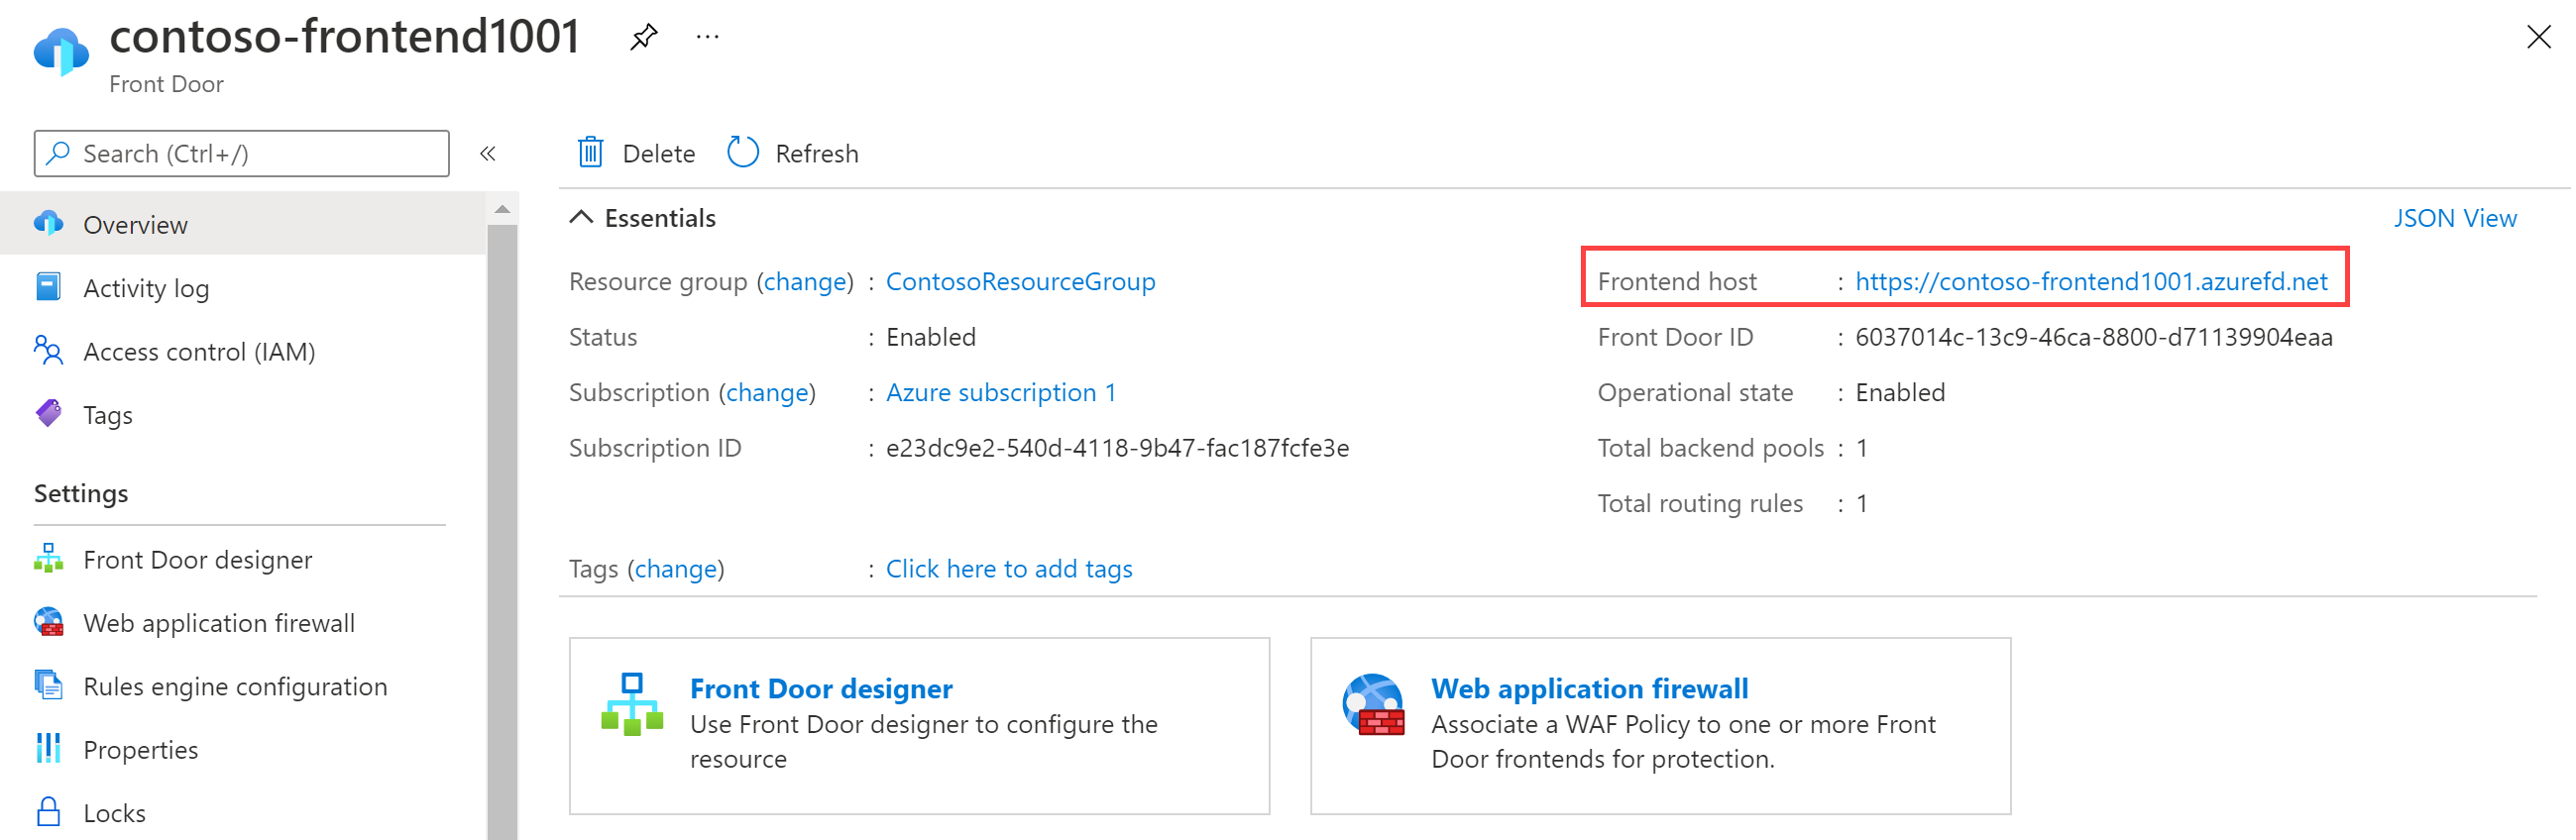
In the Azure Portal, navigate to your Front Door frontend. Select Go to Resource. Or in Search resources, services, and docs (G+/), enter front door, and select Front Doors from the results, and then select your Front Door.
-
On the Front Door page, note the Frontend host URL. This exercise uses contoso-frontend.azurefd.net, but you may have altered it to ensure the name is unique.
-
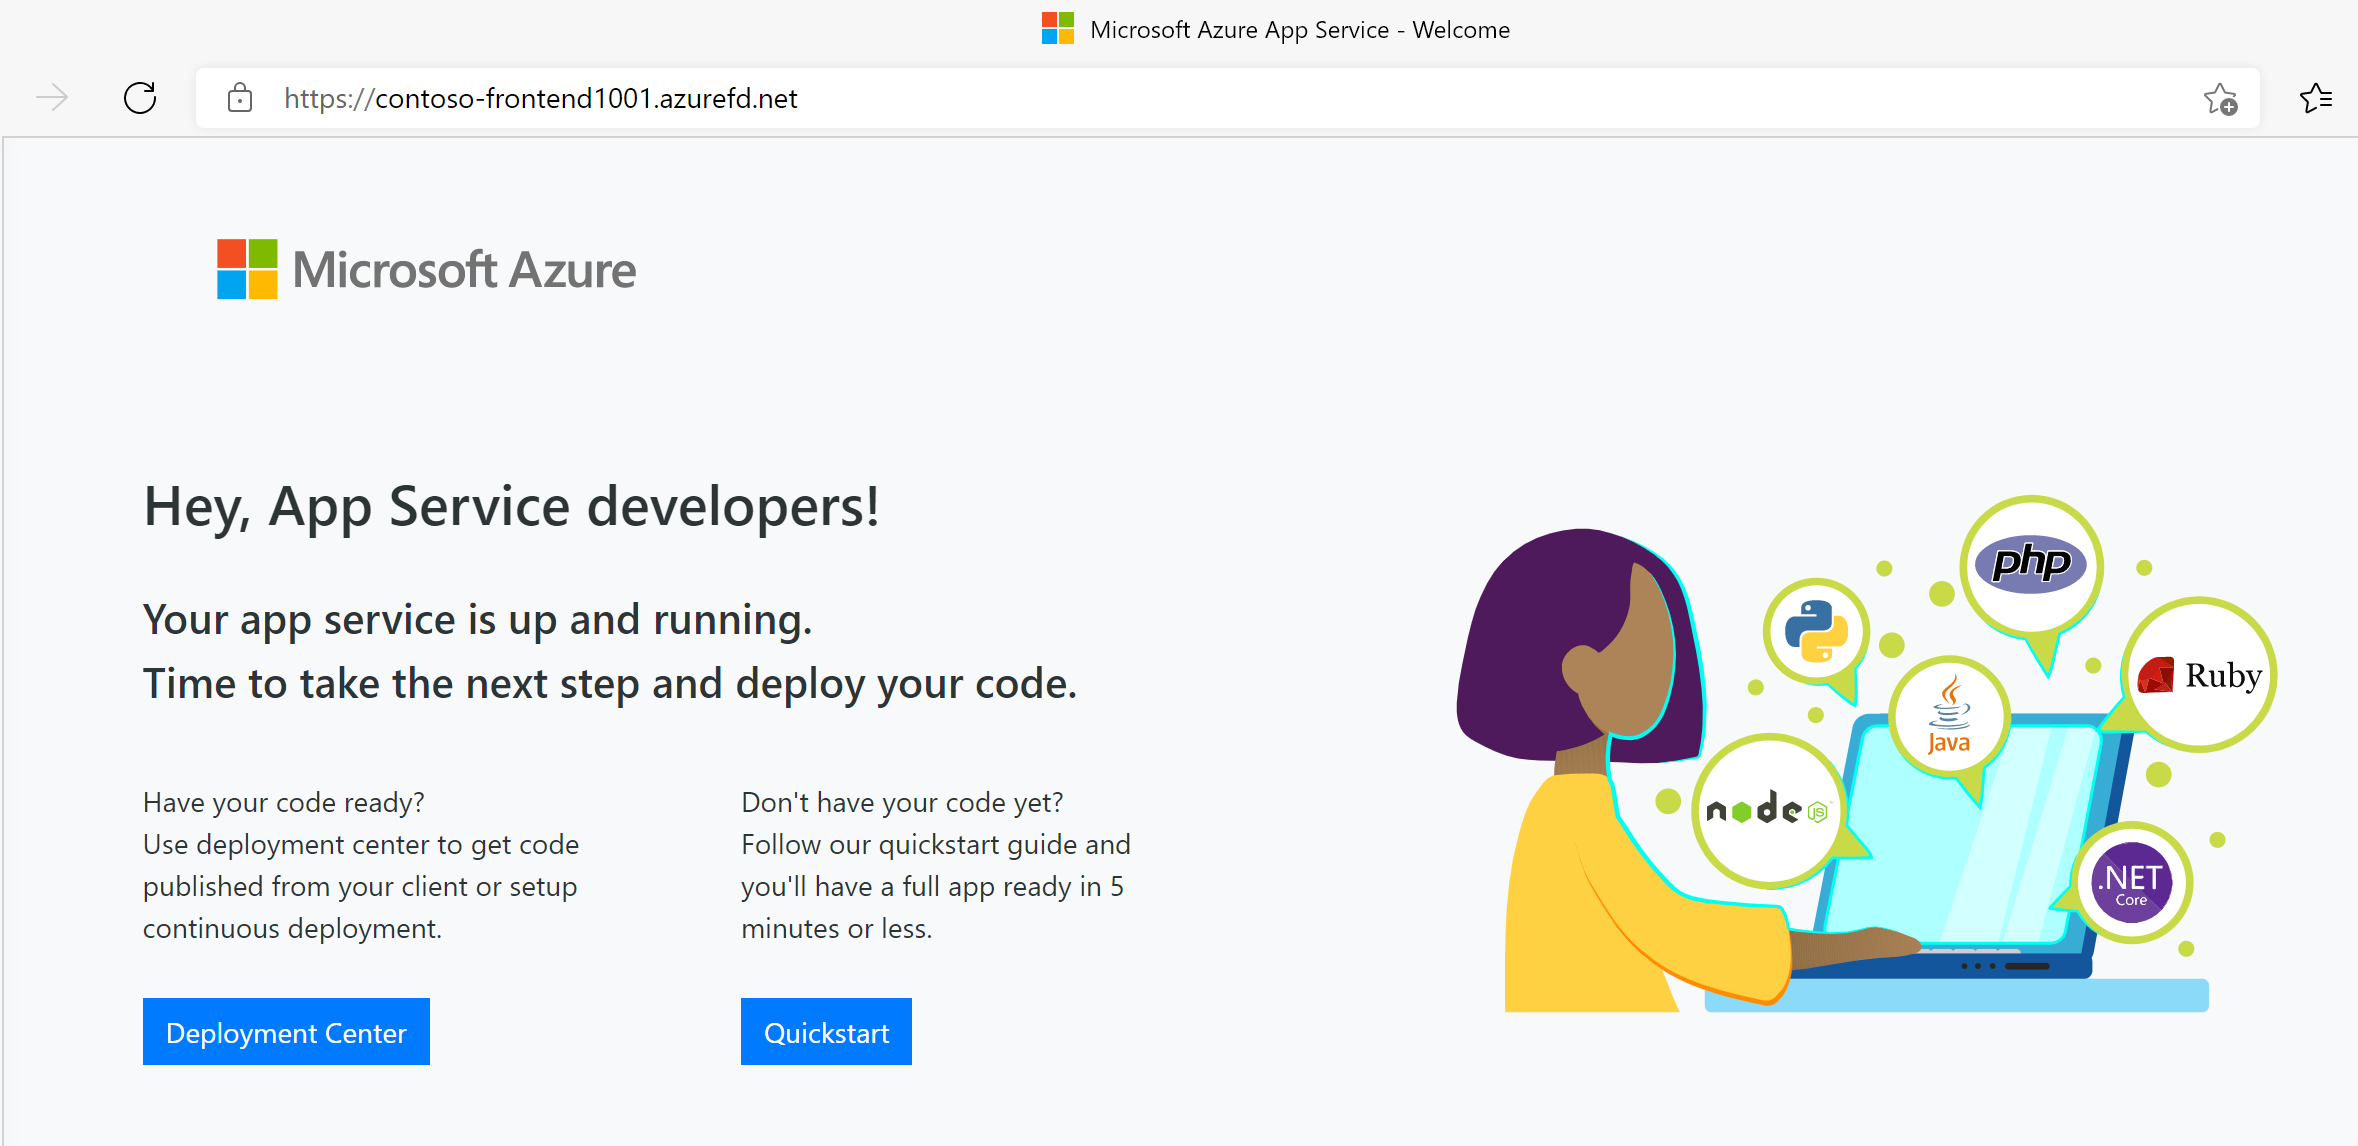
In a browser, go to your Frontend host URL (contoso-frontend.azurefd.net). Your request will automatically be routed to the nearest server to you from the specified servers in the backend pool.
-
You’ll see the following information page:
-
To test instant global failover in action, try the following steps:
-
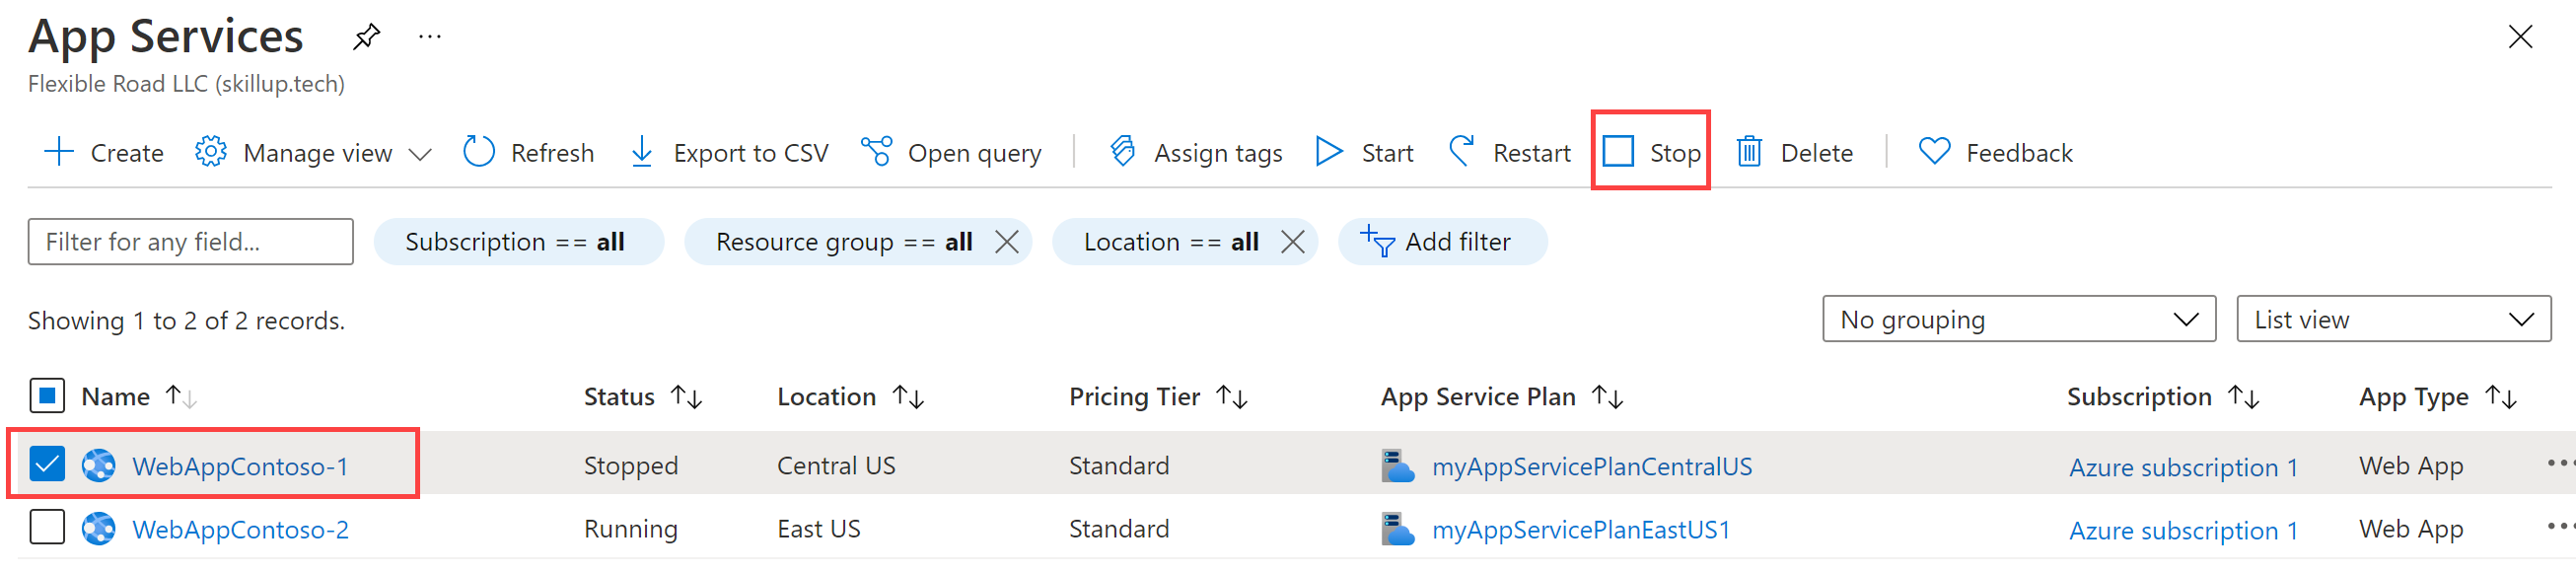
Switch to the Azure portal, search for and select App services.
-
Select one of your web apps, then select Stop, and then select Yes to verify.
-
Switch back to your browser and select Refresh. You should see the same information page.
There may be a delay while the web app stops. If you get an error page in your browser, refresh the page.
-
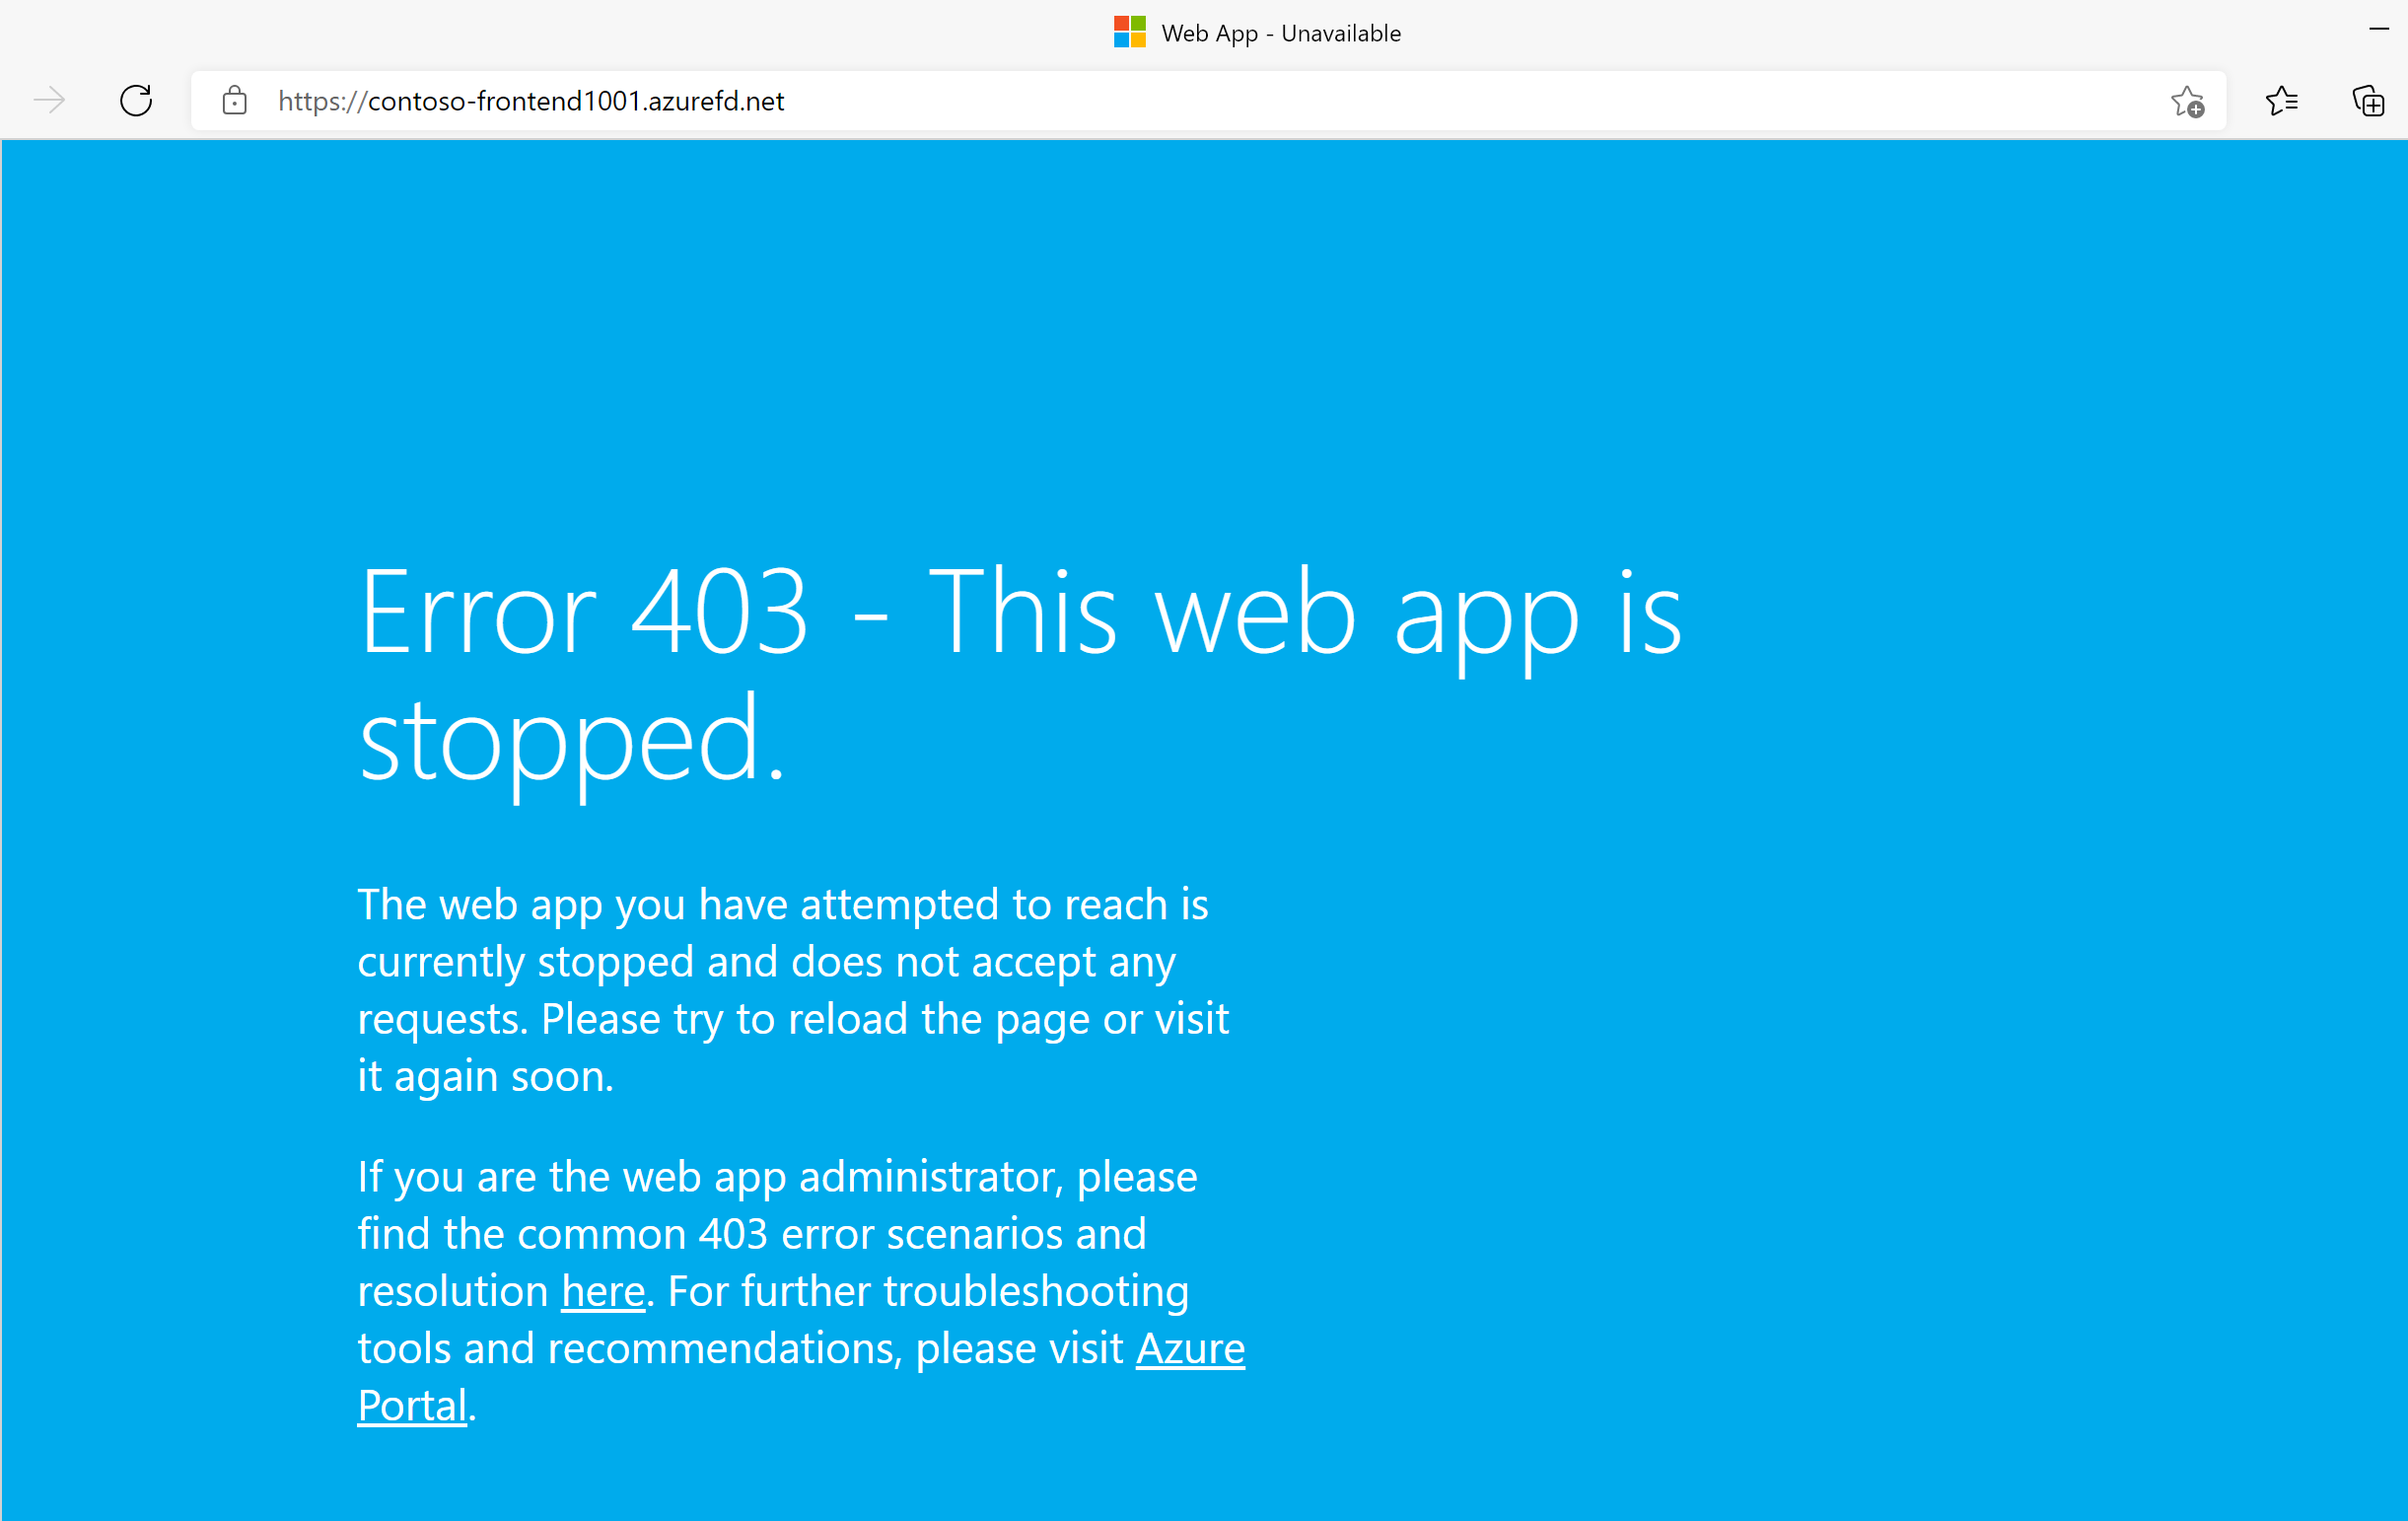
Switch back to the Azure Portal, locate the other web app, and stop it.
-
Switch back to your browser and select Refresh. This time, you should see an error message.
Congratulations! You have configured and tested an Azure Front Door.
Task 4: Clean up resources
Note: Remember to remove any newly created Azure resources that you no longer use. Removing unused resources ensures you will not see unexpected charges.
-
In the Azure portal, open the PowerShell session within the Cloud Shell pane.
-
Delete all resource groups you created throughout the labs of this module by running the following command:
Remove-AzResourceGroup -Name 'ContosoResourceGroup' -Force -AsJobNote: The command executes asynchronously (as determined by the -AsJob parameter), so while you will be able to run another PowerShell command immediately afterwards within the same PowerShell session, it will take a few minutes before the resource groups are actually removed.